I’ve recently released my 3rd animated short film Tasteful, and I decided to take some time to write about all the steps behind making the film, from start to finish, explaining them as simply as I can, so that even if you’re not from the animation or visual effects industry you’ll get an idea of what it takes to make an animated movie.
Oh, and there’s a very cool surprise at the end, to make sure you read all the way through.
Story
The first and probably the most important part of making any film is a good story. If you don’t get your story right then it doesn’t matter how great your film looks, people will not enjoy watching it.
Story comes first. Make sure it works before you move on. It’s will change a lot as we move on with production, but we want to make sure our starting point is as good as it can be.
Script
After coming up with an idea for a film, we write it in a script. It’s important to transcribe your idea into words as soon as possible, so we can spot any issues with the story before getting into production.
There are a few programs you can use for writing your script, like Final Draft or Celtx, but I personally use Scrivener, which is probably the best all-purpose writing program out there.
Concept Art
Once I have my script, I try to create as many concept art pieces as I can, to start establishing the visual style of the film.
(When I say I, I mean my concept art team, made out of awesome artists. They were the ones who created all the concept art for the film).
Concept art is a really fun step. It is the first chance you get to see parts of your film come to life on paper. It’s all about exploring and trying things out.
Storyboard
Next is storyboarding. It is probably one of the most important steps in figuring out our film. Storyboarding allows us to look at our film as a whole and spot story and pacing issues.
Making one also provides us with something we can show other people for feedback. Most people react better to a storyboard than a script. At this point I usually tweak my story and make changes until I’m pleased with the boards and ready to move on to making an animatic.
Animatic
An animatic is a movie version of the storyboard. A storyboard is like a comic book, and an animatic is like a movie.
We bring all the boards into an editing program and edit them with the correct timing, temporary music and sound effects. We’re trying to get to a point where it conveys the different story beats.
When we’re done we have the first version of the film ready to watch. As great as a storyboard is, an animatic really shows a first glimpse of what our film is going to be like.
I show it to people again, get some more comments, tweak the boards, the timing and the pacing until I’m very happy with how the film works.
Modeling
3D production starts with modeling. Creating all the digital assets for the film: The environments, sets, props, and of course – characters. We use the concept art and model sheets we created earlier, and model based on them.
The models when first created can’t really do anything, we can place them in our scenes, but they can’t move until we rig them.
Rigging
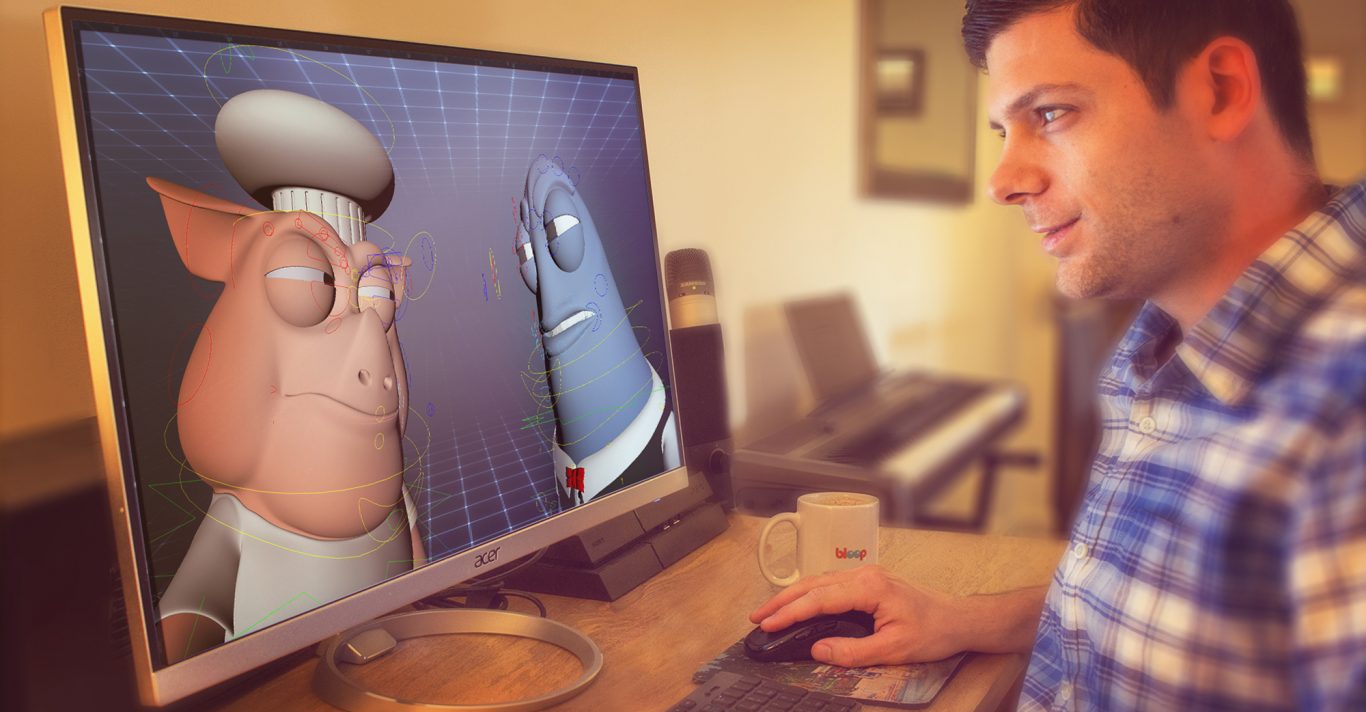
When we talk about rigging a model we mean creating some kind of digital skeleton with different controls to move it around. Before rigging, our models were like statues. Now they are more like action figures, only with much more nuanced motions.
The rigger makes sure we have enough controls for each part of the body and face, so we can create every action and expression we need.
We then bring our rigged models into the 3D program and start creating our shots. We place all the assets where they need to be and create a 3D camera to capture the shot. We position the cameras and characters in place just like we would have if we were shooting a live action movie. Then we bring life into the shots with animation.
Previz
Before starting the actual final animation though, there’s another important step in making sure the story works: Creating a previz, or previsualization.
A previz is the next incarnation of the animatic. This time, using our 3D assets. We set up all the shots in the 3D program, with all the final camera angles and motion, and create very basic animation for the characters. Just enough to convey the action in the scene.
We then bring all the shots into the editing program, just like we did with the animatic. We now have a previz version of our film, with the correct 3D models and camera motion.
This is really the last step in which we can still make story changes. Animation takes a very long time and it will be a huge waste if we had to make story changes after that.
Again, we show it to more people, get feedback from the team and make sure we’re completely happy with how the film works. Then, we get to animating.
Animation
Animation is my favorite part of the filmmaking process. It’s where we finally bring life into the characters. They start moving, and we start seeing the soul of our film right in front of us.
It’s an amazing feeling when it’s done, but it also takes a lot of time. Done incorrectly, it will ruin the movie. Bad animation is like bad acting. Even if the writing and story are solid, people won’t enjoy it if the delivery is wrong.
The way we animate the characters is by moving the controls created during the rigging stage. We manipulate these controls to get our characters in the right pose, create a keyframe (which captures the pose in the computer), and then we move the controls to the next pose, and repeat. There’s a lot more technicality to it, but this is the gist of it.
Texturing / Lighting
Before exporting our shots we need to texture and our models and light our scenes. That means creating different materials to assign to the different parts of the models. Some simulate metal, some plastic and even one for skin.
We give them the right color and light the shots with virtual 3D lights, trying to replicate how light works in real life. One major light for the whole scene, acting as the sun, and a few spot lights around our points of interests, just like on a movie set.
Rendering
When our shots are textured and lit, we start the rendering process. Rendering is the process of calculating the data in our scenes, and creating still images from it.
We then take these images to a compositing program, like Nuke or After Effects, extract the necessary data and pictures, and combine then to create the final images.
This process of rendering and compositing is very technical and too complicated for really getting into in this article, but if you’re interested in that try to search these 2 terms to find some in-depth tutorials on how the process works.
Editing
Once we have our rendered images, we bring them back into our editing program and replace the previz shots with our new finished shots. Just like we replaced the animatic with the previz.
We are now able to see our finished film on the editing timeline for the first time. But, it’s not really finished yet. We need to do some color correction and grading.
Color Correction / Grading
Color correction is the process of manipulating the colors of each individual shot so it matches the one that comes before and after it. We also make sure each shot doesn’t have parts that are too white or too black, overexposed or underexposed. We’re basically working so that we get a consistent and correct color all throughout the film.
Then we grade our film, which is the more fun and creative part. When we grade our film we try to create a visual style to the whole film, so it has a distinct look.
In Tasteful I tried to push the pinks and purples, creating kind of a washed-out look with pastel color palette that I really liked.
Music / Sound Design
Before we finish there are two major things we have to take care of. Ones we’ve probably been working on throughout the production: Sound design and music.
I’ve been working with my musician from day one of production, making sure the music fits what we were trying to do with the film, as well as make sure the film works with the music.
Music is not usually something you can simply slap on when you’re done editing. I think it should be worked on throughout the production so it becomes an integral part of the story.
Then the sound designer finalizes all the film’s sound effects: Folly, ambiance and voices, as well as mastering and mixing in the final audio of the film.
And we’re done! Now what?
This was a very short overview of what it takes to make an animated short film.
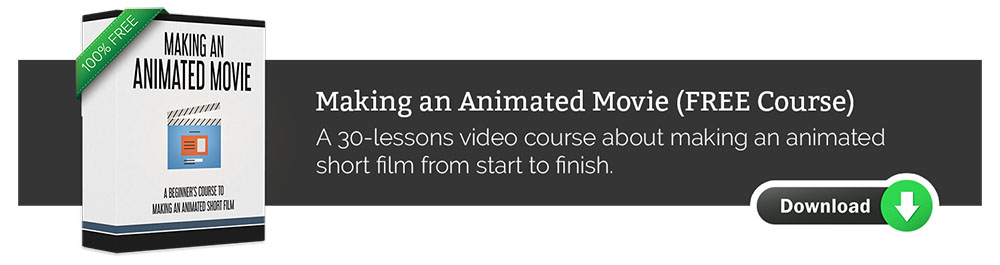
If you want to learn more I have a cool surprise for you.
I’ve created a complete 30-lessons video course detailing each of these steps with much more depth, as well as a lot of other topics related to making a film: Making a poster, a trailer, creating a website for the movie, how to submit to festivals and much more. And it’s completely free!
If you enjoyed this article you’re probably going to love the course. It is the only course in our library that is free, but trust me – it does not feel like a free course. See for yourself.