If you haven’t started using Moho yet, you’re missing out on a remarkably simple-to-use tool known for transforming any static image into a full animation.
Plus, with the launch of its highly anticipated Moho 14 update last fall, Moho has introduced several game-changing tools, which streamline everything from basic pose-to-pose animation to complicated special effects.
In this post, we’ll go through 6 ways you can leverage Moho’s animation tools to enhance your own animations right now.
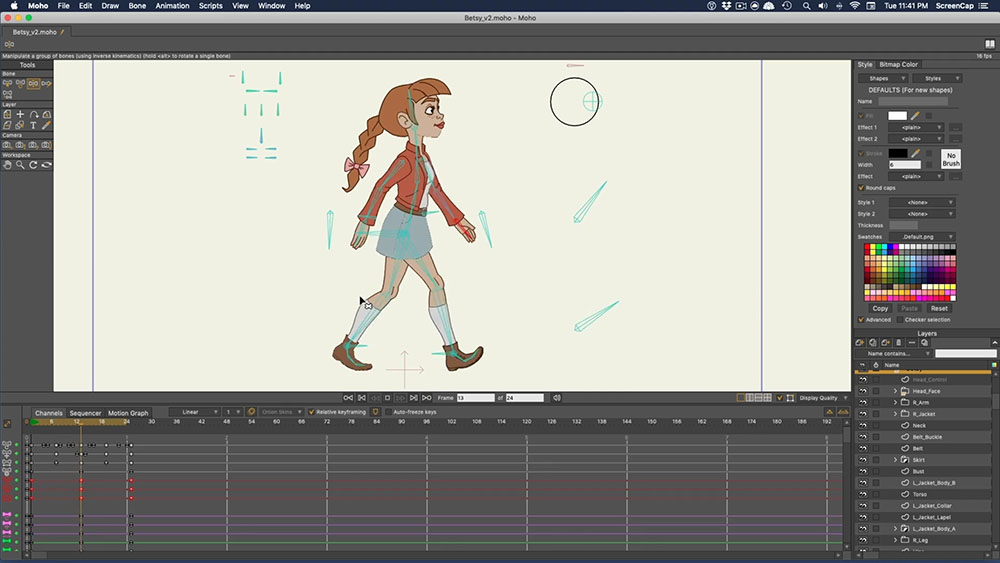
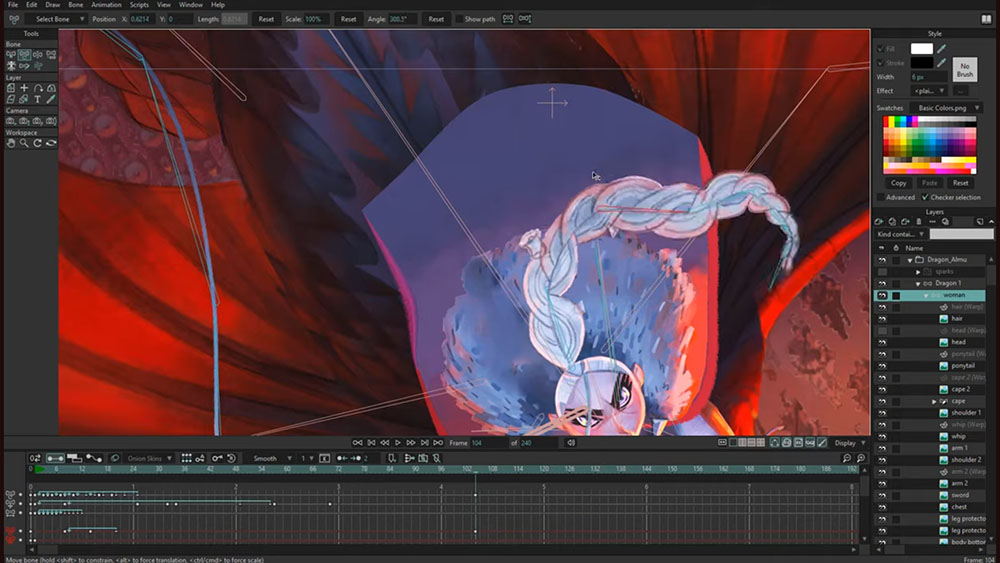
1) Powerful 2D Rigging Capabilities
Moho is best known for its vector-based animation tools, making it easy to rig any image for full articulation.
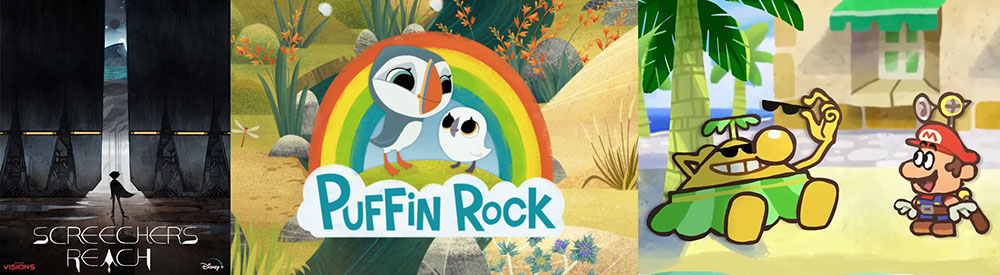
Many professional TV shows, shorts, and even feature films rely on Moho’s rigging capabilities. For example, many, if not most, of the characters in Disney+’s Star Wars: Visions “Screecher’s Reach”, Netflix’s Puffin Rock, and even Cas van de Pol on YouTube were all created and animated within Moho.
If you haven’t dived into Moho yet, don’t worry, their rigging features are very intuitive to use – it’s as simple as adding bones atop a drawing. However, you can take things further and create customized controls to automate any of the following:
- One-click character rotation
- Simple animation actions like eye blinks
- Character squash and stretch
- 3D facial perspective changes (looking up or down, or to the side)
- Mouths opening or closing, or predefined shapes
- Drawing swaps
- And more
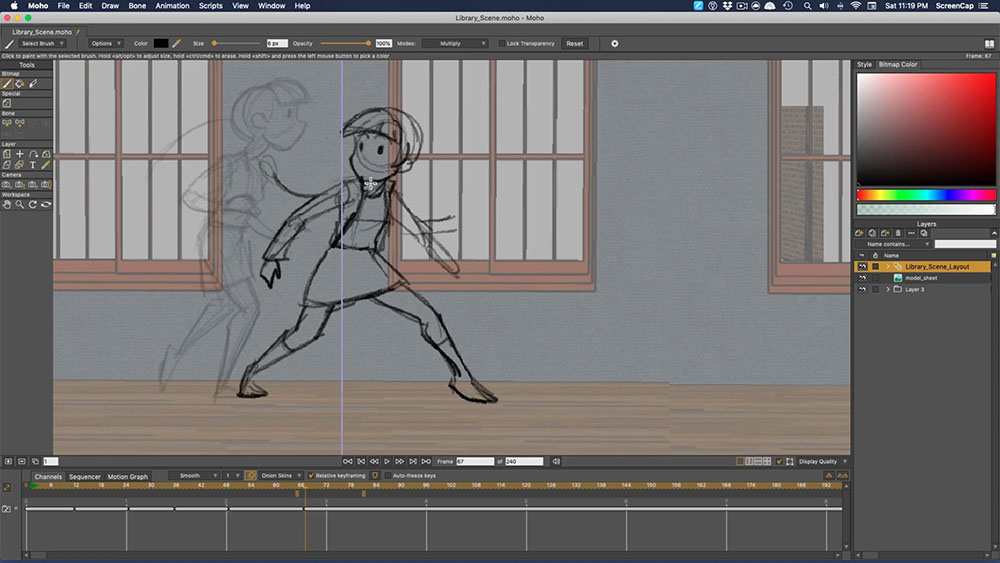
2) Easy Frame-By-Frame Animation
Similar to other professional software like Toon Boom or TVPaint, Moho provides comprehensive frame-by-frame animation capabilities.
Moho’s frame-by-frame animation tools are useful even if you’re only manipulating rigs since you can draw your rough keyframes atop your rigs before animating them.
What’s more is that just like Photoshop or Procreate, you can import a wide array of brushes, enabling you to animate in the style of your choosing.
3) Have You Used Moho’s Curvers Yet?
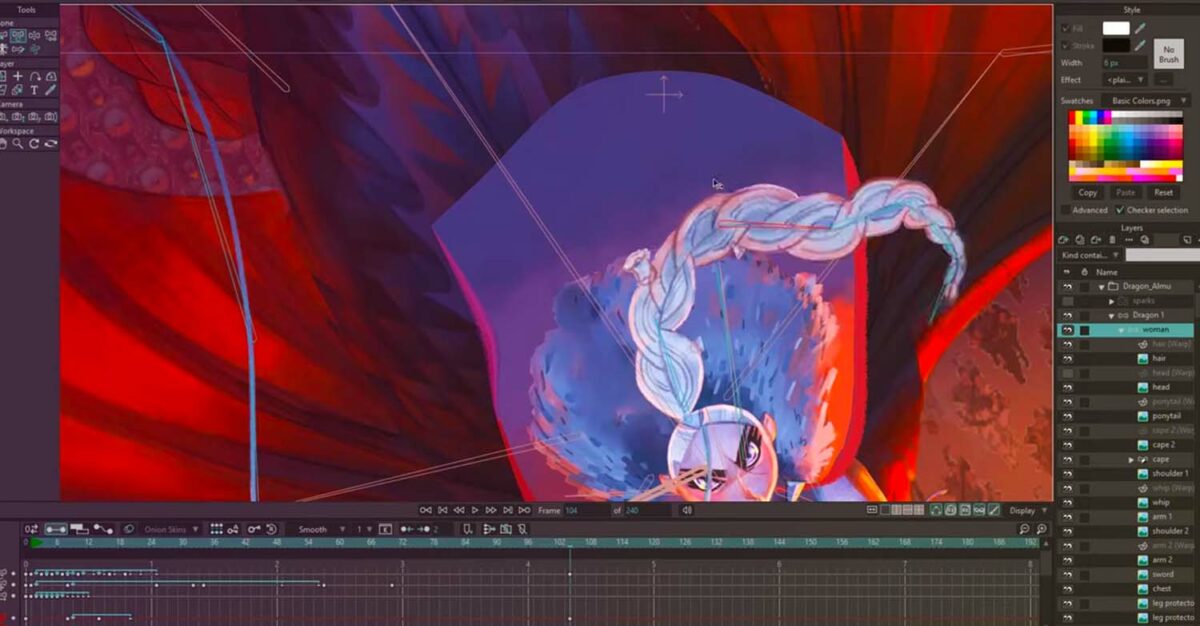
A notable feature Moho added in Moho 14 was the addition of the Curvers tool. Curvers makes it easy to… well, create curving animation.
Think of animating a rope, a snake, or a ponytail blowing in the wind like in the image from Moho’s YouTube channel below.
This is a great tool, especially if you’re a beginner because you don’t need any prior animation background to get started. You can simply take a drawing that you’ve done, add curve points to it, and start bending, twisting, or moving it smoothly along any path – no need for complex bone structures, or meticulous articulation.
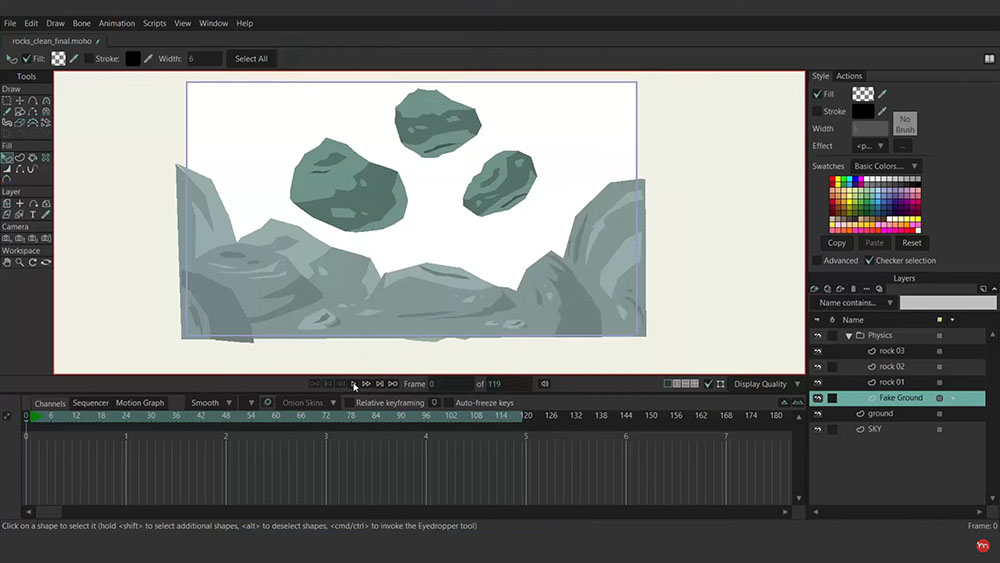
4) Let Moho’s Physics Engine to Do The Work For You
We’ve all done the bouncing ball exercise to learn the principles of animation: timing, arc, solid drawing, etc.
But, once you’ve nailed the basics, there’s no need to repeat that exercise endlessly.
And while tweening takes a lot of the work out of animating a bouncing ball – or other falling object – you’ve still got to get the timing, spacing, arc, etc. right.
That’s where Moho’s Physics Engine comes in.
Imagine animating rocks falling. Instead of using frame-by-frame, or pose-to-pose, simply set a ground layer, and turn on Moho’s gravity tool. Moho will animate the rocks falling, and even bouncing off the ground before coming to a stop. In the same way, you can make any object fall, float up, ricochet off another object, and more.
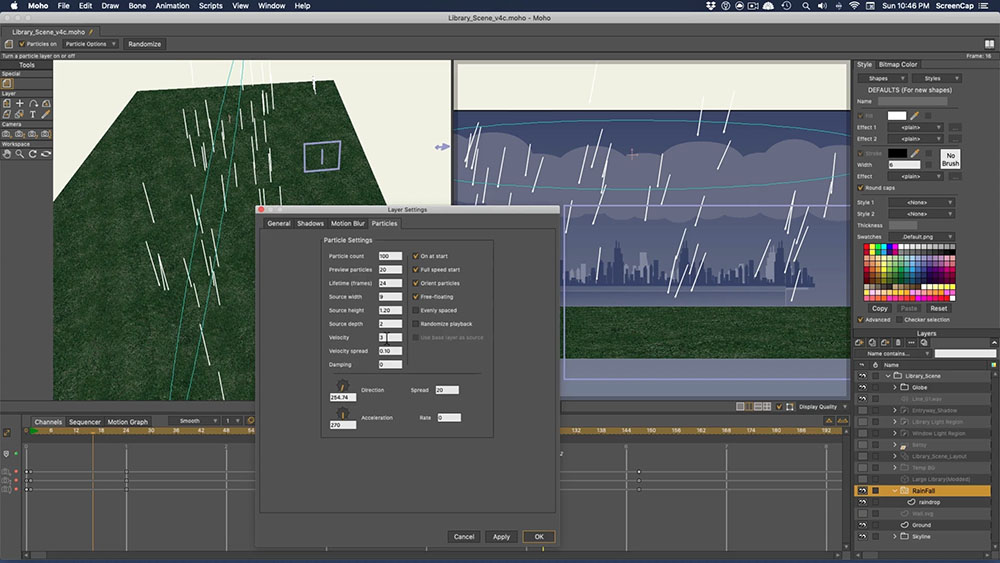
5) Moho’s Particle Systems Can Animate… Anything!
One thing CG animation software excels at is particle systems – they make animating anything from rain, water, crowds, or explosions very easy.
But, did you know you can do this all in Moho as well?
Moho has an intuitive particle system that simplifies the animation and manipulation of particles, allowing you to effortlessly incorporate various special effects into your animations. Here are some practical uses for their particle system:
- Randomizing tree variations in a forest
- Adding a magic sparkle effect
- Birds flying away
- Bubbles in water
- Dust falling in a spotlight
- And more
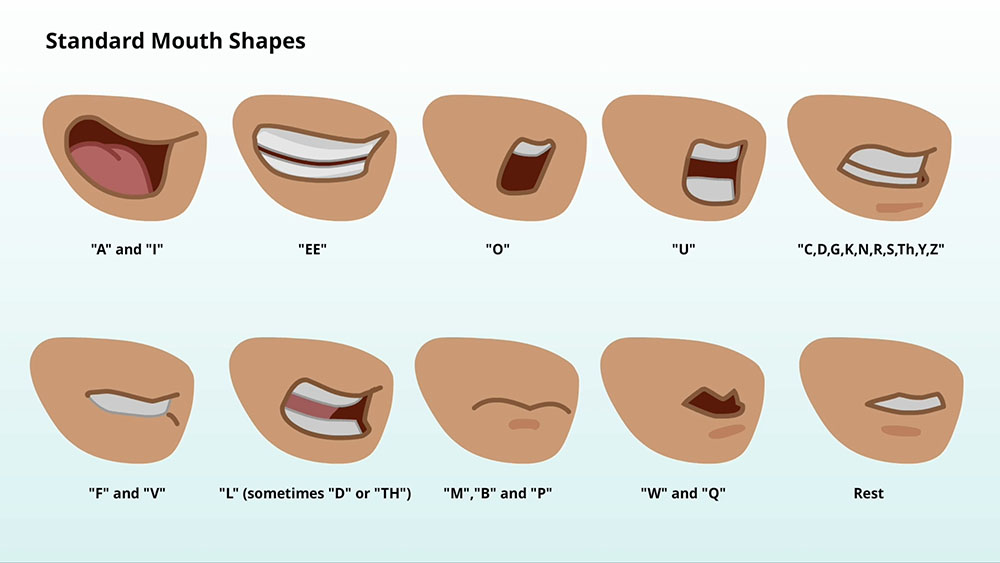
6) Automatic Lip Sync in a Snap
One final mention is Moho’s automatic lip sync tool – an especially valuable asset if you’ve got a lot of dialogue and don’t want to manually animate it.
Using Moho, simply import your audio, set your mouth shapes, and let it get to work. What might have taken hours of manual lip-syncing can now be achieved in a matter of seconds. Of course, some tweaking may be necessary, but the time saved is undeniable.
Want to learn more? Check out our Moho Animation course
A complete course for creating professional 2D animation using Moho animation software, including 38 video lessons, exercise files, templates, project files, and character rigs.